

ScreenCastle Makes Web-Based Screen Capturing Easier Than Easy
A good amount of free web-based screen capture solutions exist today, many of which we regularily review on this site. Today, however, ScreenCastle a new web-based video capture solution came to my attention.
ScreenCastle is by far the easiest web based applet I’ve used, and it really holds true to its “One Click Screencasting” philosophy. ScreenCastle brings the following features to its users:
- 100% free
- It is possible to record fullscreen or to choose the part of the screen to record
- Unlimited fullscreen resolution recording.
- Audio recording (from primary audio recording device such as computer mic)
- Unlimited video length
- Unlimited maximum number of videos
- No registration
Features like unlimited resolution, length, and number of videos truly make this applet stand out from the crowd. There is also an API provided for developers who would like to integrate this technology into their own websites and applications.
Using ScreenCastle
As soon as you open screencastle.com, you will see the huge red button to the right. That is what needs to be clicked in order to begin the screen capture.

ScreenCastle Main Page
After you click the button, a security warning comes up, you must accept it for the recording to work, as ScreenCastle needs to gain access to your computer. After that, ScreenCastle lets you choose if you would like to record your entire screen or just a part of it. You are also able to record from your mic by ticking the checkbox in the lower bottom of the window. Once you are finished configuring the recorder, the arrow at the bottom must be selected.

ScreenCastle Configuration Window
You will now see a black bar at the top of your screen. Click on “start recording” for the recording to start, and then go back to the top of the screen and select “stop recording,” then “save” in order to save your video. This is where I was disappoined. I attempted to record a minute of HD video and even though it was recorded, the video was unable to proccess, thus making ScreenCastle not all that it is made out to be.
I then went ahead an recorded some simple internet browsing with some standard definition YouTube video (near the end of the video). That didn’t work either. I tried recording 10sec of browsing a text webpage, and although it did get to the uploading step, the video never actually proccessed. I am assuming this is a temporary problem with the site and will be fixed. Once it is, samples of video recordings will be added.
Finally, assuming the uploading and processing does work, ScreenCastle gives you several ways to share your video:
- Link to watch (YouTube-like streaming Flash video)
- HTML embed code
- BBCode (for posting video to forums and message boards)
- Direct link to media file
- Preview images (for linking to video)
Conclusion
ScreenCastle is a great idea, is easy to operate, and seems to work smoothly until you get to the final step. No matter what scenarios and resolutions were thrown at it, ScreenCastle would not let me upload any of my recordings. As such, ScreenCastle’s video recording quality cannot really be judged until that bug is fixed.
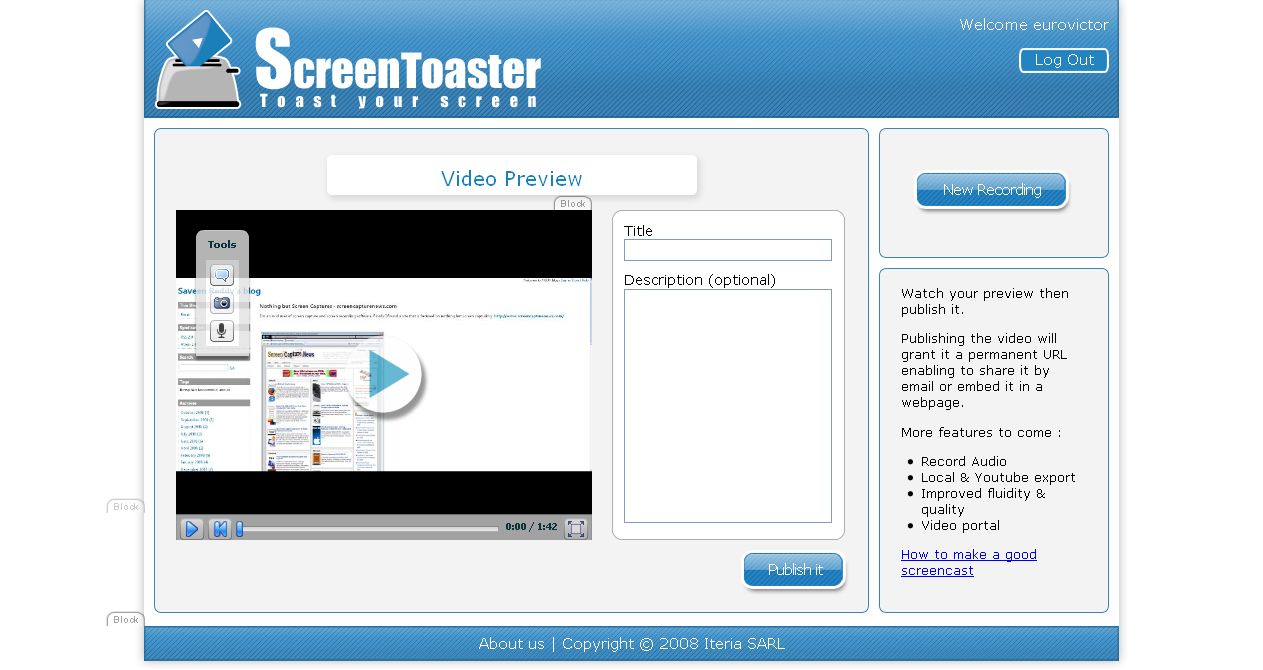
ScreenToaster 2.0 Released
January 14, 2009 by Victor · Leave a Comment
ScreenToaster is probably the most exciting, easy-to-use, and feature packed free screen capture applet available. Today, the developers of ScreenToaster have announced that the Beta testing is over and that ScreenToaster 2.0 is available with the following new features:
- Live audio capture
– Embed webcam in screen capture
– Accelerated or slow-motion playback
– Pauses during recording
– Download the completed screencast (experimental)
– Redesign and improved content organization
– Personal profiles
The devs over at ScreenToaster are also promising an API and direct uploads to video sharing sites like YouTube, Veoh, DailyMotion, and others. If these features will be added, then ScreenToaster will be hands down the best free screen capture application available.
You can read our review of the ScreenToaster beta by following this link.
New Online Applet Lets Users Instantly Create Screencasts
Want to capture your screen, create a video of it, post it online, share with your friends, but don’t want to download or buy any software? Want to do all of this with ease yet not pay a cent? Well, now there is a solution! It is called “Screencast-O-Matic” and lets you share and broadcast a recording of your screen for free. This solution is Java-based (requires Java 1.5 installed) and works flawlessly with Internet Explorer, Firefox, and Opera on both Windows and Mac OS. Screencast-O-Matic is also supposed to work with Linux, but it seems like the developers are still working out the final kinks.
Screencast-O-Matic can post screen captures up to 15 minutes in length on their free hosting but it also lets you save the captures as .MOV QuickTime files so you can do whatever you want with your captured content.
Unfortunately, Screencast-O-Matic has some major limitations that make the applet unappealing to some. First of all, it can only capture a maximum resolution of 1024×768 and maintain a capture rate of only 2 frames per second. This is ok for text, but not good if you want to show videos or animations in your screencast. What’s more, Screencast-O-Matic does not have support for dual-monitor systems (it can only capture from your primary monitor). Click here for a sample screencast that we created with Screencast-O-Matic to see for yourself.
Using Screencast-O-Matic
Step 1: Visit http://www.screencast-o-matic.com/ and click on “Create”.

Step 2: You will be prompted to start the Java applet. Click on “Start” at the bottom of the page. A security verification might come up, which you must also allow in order for the applet to start.

Step 3: Once you have allowed the applet access to your computer, you will now see a configuration screen. Unfortunately, Screencast-O-Matic only supports resolutions up to 1024×768, so you must select that option for maximum quality. Screencast-O-Matic also lets you add voice to the video. Once you have configured the options, click on “Go!”

Step 4: At this point, you will see a black frame come up on your screen. It cannot be resized. Drag it over the area which you would like to capture and follow the instructions supplied by Screencast-O-Matic:
- Drag the black frame so it surrounds the area of the screen that you’d like to capture.
- If you are recording audio, make sure the mic level is ok by talking into your mic and watching the
 icon. You may also need to adjust the mic recording volume for your operating system. See examples for Windows XP and Mac OS X.
 - Click the
 button to start recording the part of your screen inside the black frame (and audio from the mic you chose).
 - Click the
 button when you are done (or if you need to pause click
  button).
If you are working on a dual-screen setup, Screencast-O-Matic won’t allow you to capture from your secondary screen.
Step 5: Once you have completed yor capture, you will be able to either upload the video right away or save it on your computer as an .MOV file. If you are uploading your screencast, Screencast-O-Matic will prompt you to register a username and passoword on their website. Screencast-O-Matic will then give you a URL for your upload.

Step 6: You’re done! Now you can share the link that was given to you previously and have people access your screencast. Here is a sample screen capture that we did in-house: http://www.screencast-o-matic.com/watch/cjQvQrnnV

